Come on over and learn how to make DIY Mini Christmas trees. The door knob bottle brush trees and Cone Christmas tree crafts are the cutest!

DIY Mini Christmas Trees
Hello! Welcome back to Christmas in July! In case you missed it, I shared my DIY Christmas ornaments yesterday, and you don’t want to miss those! I share how I made chippy spindle ornaments, tart tin ornaments, mercury “glass” ornaments, and paper clay ornaments!
Today I’m sharing how I made a few DIY Mini Christmas trees to use as place setting toppers and to add to Christmas vignettes. These little trees are SO cute and so simple to make.

French Cottage Charm
Free Detailed Mood Board Collection
Create a beautiful home full of French Country Cottage charm by using this eight page e-book as inspiration! You’ll receive access to shopping links and some of my favorite resources as well!
DIY Mini Christmas Trees
Video Tutorials
Door Knob Bottle Brush Trees
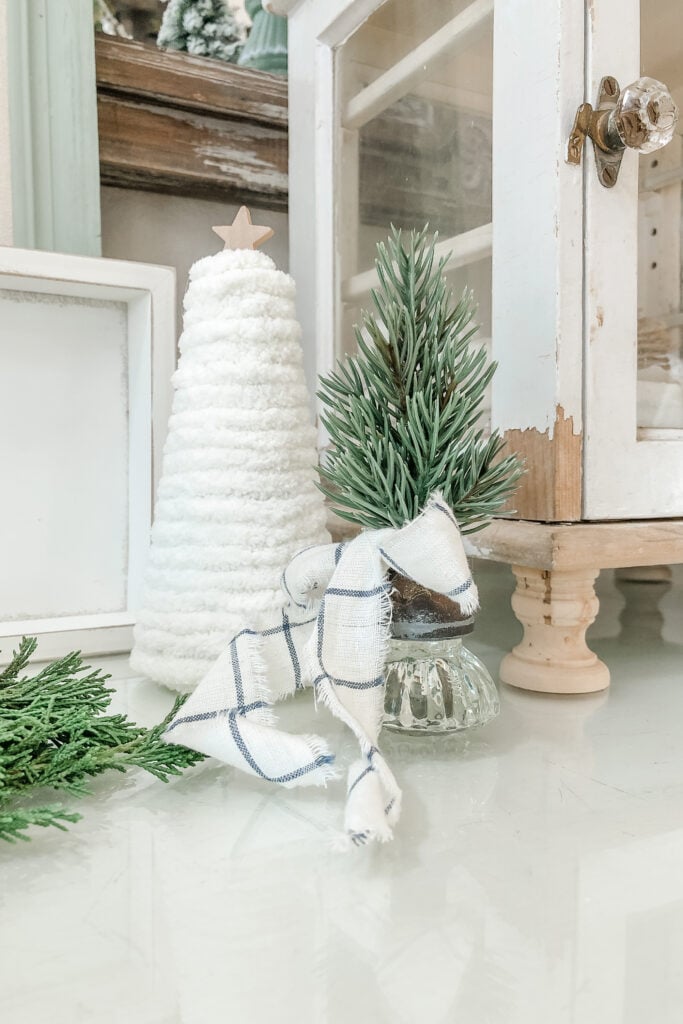
First up are these darling door knob bottle brush trees! I mean, have you ever seen anything SO CUTE! I LOVE these! You can use vintage white glass door knobs, vintage crystal door knobs, or even rusty metal door knobs.
I really love the look of the crystal door knob Christmas trees. Which one is your favorite?
These are so simple to make. Just pull off the current base on your bottle brush tree and then glue the tree down into the doorknob using hot glue! You can add a ribbon and a little banner as embellishments. Adorable right?!
So I used some in a place setting, and then I used others around the house as part of my Christmas vignettes. Have you made these before? If not, be on the lookout for old door knobs while you are out thrifting. You can usually pick them up for just a few dollars!


Cone Christmas Tree Craft
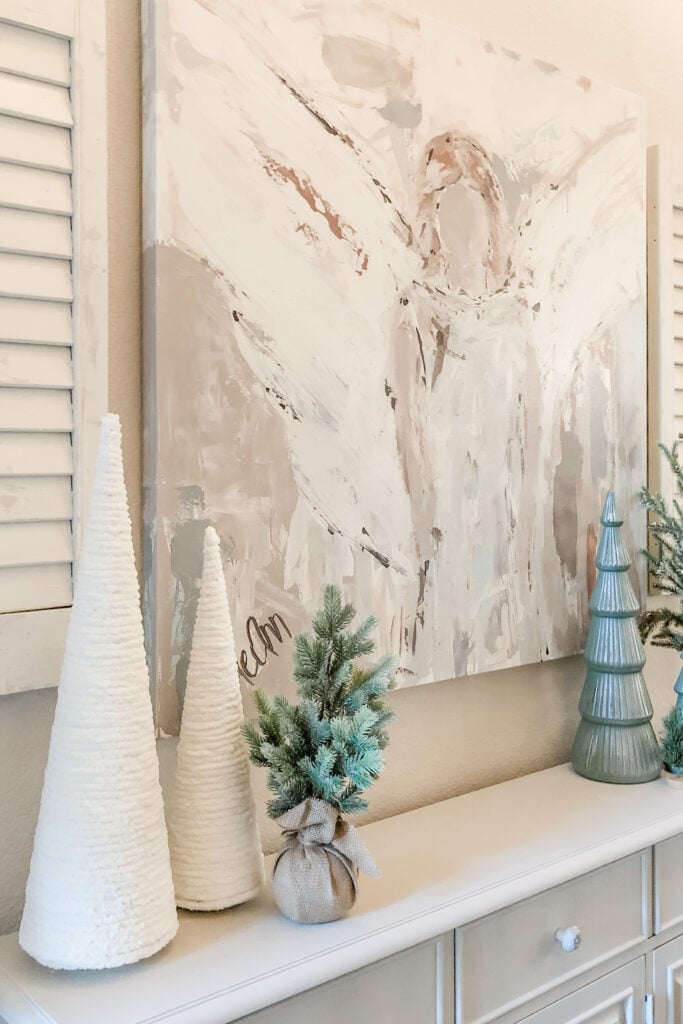
Next I want to show you how simple it is to make these cone Christmas tree crafts! I made several versions of these little trees. I used floral foam cones for several of them, and then I also used a few of the paper cardboard cones for some of the larger Christmas trees.
All you do to make these wrap your yarn around the cone, securing it with hot glue! If you are using the foam cones, make sure you have your heat gun set on low or use an inexpensive gun that doesn’t get quite so hot. If the glue is too hot, it will melt the styrofoam!
In the video I start at the base and work my way up with the yarn, but after making several of these, I found it easier to start at the top and work my way to the bottom.
You can stop with just the yarn or you can continue on and embellish your mini Christmas trees! I did a few plain ones and then a few with stars on the top. And I also added a tree trunk to a couple of them, and I love the varying height you can add with the tree trunks.


Embellishing Your Cone Christmas Tree Crafts
I chose to add little wooden starts to the tops of my trees. You can pick these up at your craft store or shop the supplies I’ve linked down below. Originally I planned to paint the stars silver, but I like the look of the unfinished wood.
Once I had the stars secured, I went back in and added a little bit of moss at the base of the stars to add a little texture and help hide the toothpick that I used to place the star in the foam cone. I’ve added my FAVORITE moss down below. I use this stuff all year long and I love it!
For the tree trunks I decided to use a wooden dowel and then glue it to a wooden block. I used scissors to trim the dowels down, and the I drilled a small pilot hole into the center of my blocks. My dowels fit snuggly down into the wood block, so I didn’t use any sort of glue.
To finish off my trees, I added a little ribbon to the base of the tree trunk and tied it off in a bow. I used muslin fabric for my ribbon and simply tore it into long strips.

Decorating with DIY Mini Christmas Trees
There are really so many ways to use these little cuties in your home during the Christmas season. But I thought sharing a few of my ideas might help inspire you!
- Use them as a topper at each place setting
- Layer them on a mantle
- Tuck them under a cloche with some vintage books
- Gift them as a hostess gift
- Mix them in with your larger faux trees
- Add them to a Christmas village
- Attach them to a Christmas gift and use them as a name tag


I hope these DIY Mini Christmas Trees have inspired your holiday crafting! Make sure to pin this post so you can come back to it in October/November when you start dreaming about your Christmas decor and craft projects!
Do you think you’ll be making a few of these?
Pin it for Later

I’d love for you to say hello down below and let me know what you think! And if we’re not friends over on Facebook or Instagram, what are you waiting for?! ☺️
Are you on Pinterest? Come follow along for more French cottage inspiration!
Blessings,
Kayla C.
You Might Also Enjoy
Shop This Post
Some of the brand links I share are affiliate links. As an Amazon Associate I earn from qualifying purchases. These links provide me with a small compensation (at no additional cost to you) when you purchase items through my links.


Kayla, these are so adorable! I especially love the one with the glass door knob — so sweet!
Thank you so much Rebecca! Me too, that is my favorite!
Yes, this was your site in the section about the ‘mini trees’ – where did you buy those cute salt/pepper shakers? Thank you so much!
Hi Kay! I just responded to your email tonight. But I find those at Thrift stores and on Etsy. Here is a link to help you with your treasure hunting! https://rstyle.me/+yUsKtMv2Hfk99sPQM33c4g
I am not sure if you saw my message but your site (that I JUST found today) is so awesome, everything/colors in your home on the Christmas tour are so beautiful — and are the colors I selected for our Christmas tree/etc. this year (I just need to go to Hobby Lobby next week to look for the same shade of blue accents) – and can’t wait to copy some of your design ideas for our new farmhouse we are building outside of Atlanta. Thank you SO much for showing us your home/ideas! You are very talented!! Thanxx again!!
Hi Kay! Thank you for the sweet message! So glad you enjoy my blog and find it inspiring! Happy decorating and that is so exciting about the new farmhouse!