

Be inspired by this elegant winter table setting! I used sage greens, blues, and silvers to create this beautiful winter tablescape. Shop This Post

Elegant Winter Table Setting
Welcome back to my home! I’m so excited to share this elegant winter table setting with you today. I love how this table came together. It is peaceful and elegant and can be used for Christmastime or throughout the winter season.

Free resource library
The Gathering
A cozy library filled with printables, decorating guides, seasonal artwork, DIY resources, faith-based encouragement, and more. Unlock the entire collection and start gathering beautiful things for your home and heart.
Whenever I’m working on a tablescape, I like to pick a color scheme first. I’m using mostly sage greens and dusty blues this Christmas, so I knew I wanted my table to compliment those colors. Mercury glass is beautiful anytime of year but I especially love it at Christmas. Our Christmas tree is mostly mirrored glass, silver, and mercury glass so I wanted to bring that look over to our dining area.

Elegant Winter Tablescape Video Tutorial

How To Create A Winter Table Centerpiece
If you want to add some color and texture, consider adding a tablecloth or runner to you table. There are so many options for runners…scarves, blankets, sheet music, wrapping paper, etc.
This sage green and white stripe wrapping paper that I used on my table is from Target. After I rolled it out, I layered a mirrored shutter on top of it to anchor my centerpiece. Using a tray, basket, etc. for the centerpiece helps to pull everything together. It’s also nice to be able to pick it up and move it if you serve food on the table.
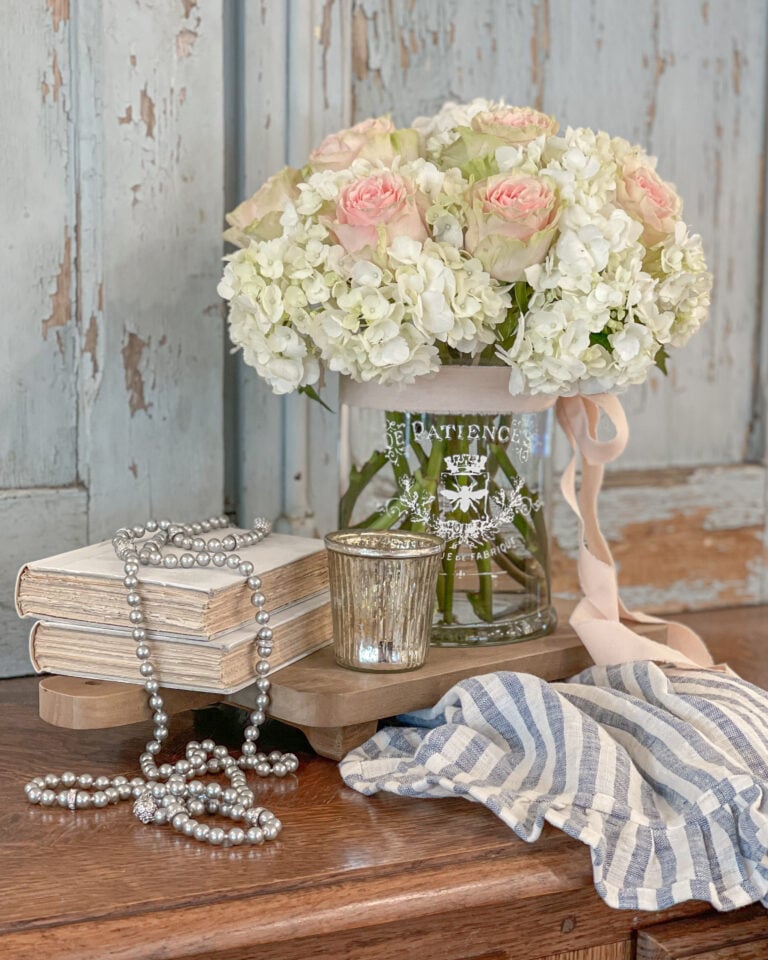
From there I layered my mercury glass vases and tea light candle holders. I put together three floral arrangements using white and blue hydrangeas, seeded eucalyptus, lambs ear, and Christmas greens. Once I placed those in the centerpiece, I added a few candle sticks and silver beaded garland to pull it all together!

How To Create Winter Place Setting
Painted Chargers
For each place setting, I started with these gold chargers from Hobby Lobby. I loved the scalloped edge on each charger. I didn’t want gold though so I spray painted them with a Metallic silver spray paint. Once the paint was dry, I went back with some Waverly Antique Glaze and then wiped it back off. This step helped to tone down the silver a little bit. I sealed them with a matte clear sealer.
Napkins
Next, I laid down these sage green napkins from World Market. The large white plates and the clear glass plates and from the Dollar Store!
How to Apply Etching Cream
To add a festive French Country touch, I added this adorable sheep stencil in the middle of the clear glass plates with Etching Cream. This is the Farmhouse Christmas stencil from A Maker’s Studio and it is sold as part of the Holiday Maker Box!
I have a video walking you through all of the goodies that come in the Holiday Maker Box. You can read that blog post and view that Holiday Maker Box opening video here.
The Etching Cream from A Maker’s Studio is so simple to use and you can use it with any of their stencils! To use the etching cream, place your stencil on your glass or mirrored surface. Make sure it has great contact so the etching cream doesn’t seep under the mesh design. Once the stencil is on really well, apply a generous amount of etching cream all over the mesh.
Work your brush in all directions to make sure the product pushes through the mesh. After applied, lift the stencil up and wash the stencil with warm soapy water. Lay it flat, adhesive side up to dry.
Shop Glass Etching Cream
After you’ve lifted the stencil, allow the etching cream to sit on the plate for 10-30 minutes before you rinse it off. You want to give it time to do its job and etch the glass. Once you rinse off the etching cream, you will see the design has been etched into the glass beautifully!


I love how these etched salad plates turned out. The frosted look is perfect for a Christmas or winter tablescape, and it looks so elegant!
Place Setting Topper
To finish off the plate settings, I tucked in a fresh stem of evergreen in between the dinner and salad plate.
DIY Place Cards
I wanted to add some place cards to each place setting so I pulled out my stencils and some card stock! I used the All is Bright Stencil from A Maker’s Studio. This stencil is also one that comes with the Holiday Maker Box! I also love using the Squeegee Tool bundle when I’m working with the stencils. They are great for spreading and pressing the ink/paint down into the stencil.
Must Have Tools
This squeegee bundle is a must have! They are the best tools to use when applying ink or paint on your stencils.
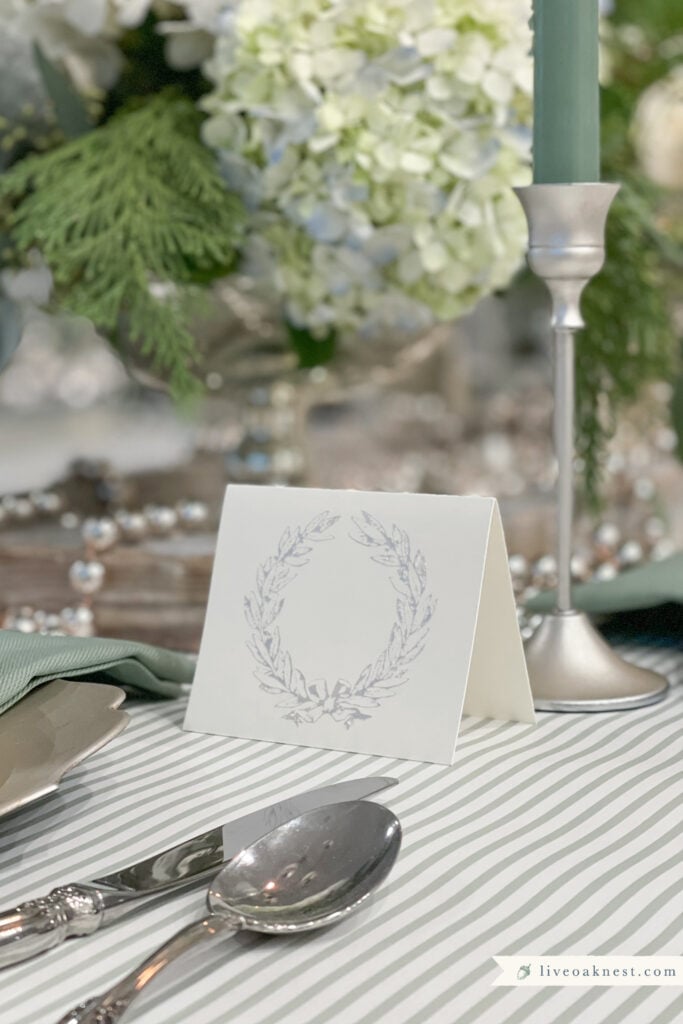

To apply the wreath design to my cardstock, I used the Metallic Silver Chalk Art. I put it on pretty heavy because I wanted it to have an embossed look to it. After the ink dries you can write names on the inside of the card, or write them on the front inside of the wreath.

Elegant Winter Table Setting
I’d love for you to say hello down below and let me know what you think! And if we’re not friends over on Facebook or Instagram, what are you waiting for?! ☺️
Are you on Pinterest? Come follow along for more home decor inspiration.
Blessings,
Kayla C.
Shop This Post

Some of the brand links I share are affiliate links. As an Amazon Associate I earn from qualifying purchases. These links provide me with a small compensation (at no additional cost to you) when you purchase items through my links.
You Might Also Enjoy
No posts


Great tutorial for etching dollar store plates! I might try this with my adult daughter or a small ladies’ group. I love your calm, beautiful blue, green and silver tablescape. Blessed Christmas to you.
Thanks Leah! So glad you enjoyed the tutorial. Happy crafting!