I’m so excited to do a little crafting with all of the goodies from my Winter Maker Box from A Maker’s Studio! Come see what I made!
Winter Maker Box Crafts
Have you heard of A Maker’s Studio? If you haven’t, you are in for a real treat! Amy Howard is the owner, and if you know her, you know she is so talented and loves to craft and create beautiful things for her home and her friends.
When you browse A Maker’s Studio online shop, you will find reusable stencils, chalk paint, gel ink, craft kits, resin projects, and more.
The Winter Maker Box Kit is the perfect way to try your hand at so many different craft projects! It’s $99 to purchase, but it is valued at over $200! And the amount of product you receive + the amount of crafts you can make with the box of goodies is truly unbelievable!
I’m going to do a box opening and show you all of the goodies in the Winter Maker Box and then I’m going to get to creating! I made 5 different things to share with y’all today, and I didn’t even put a dent in the box! I still have more creating and crafting to do, and I’ll be sharing more projects in the coming weeks!
Winter Maker Box Crafts
Box Opening + 5 Simple Craft Projects
Serve Up Something Good DIY Cutting Board
If you’re looking for a quick and simple gift for a hostess, this project would be perfect! Or make it for yourself and use it in your kitchen or as part of your next charcuterie board!
I picked up this long, narrow cutting board at Hobby Lobby. It was part of their Spring collection and was half off!
I used the “Food Is My Love Language” Stencil and the Chalkart in the color “I Reckon“.
If you want to make sure the phrase stays on permanently, you’ll want to seal this with wax or poly!

French Cottage DIY Spring Floral Vase
This little project right here might be one of my favorite DIYs ever! This was SO SIMPLE to do and it is just so so pretty!
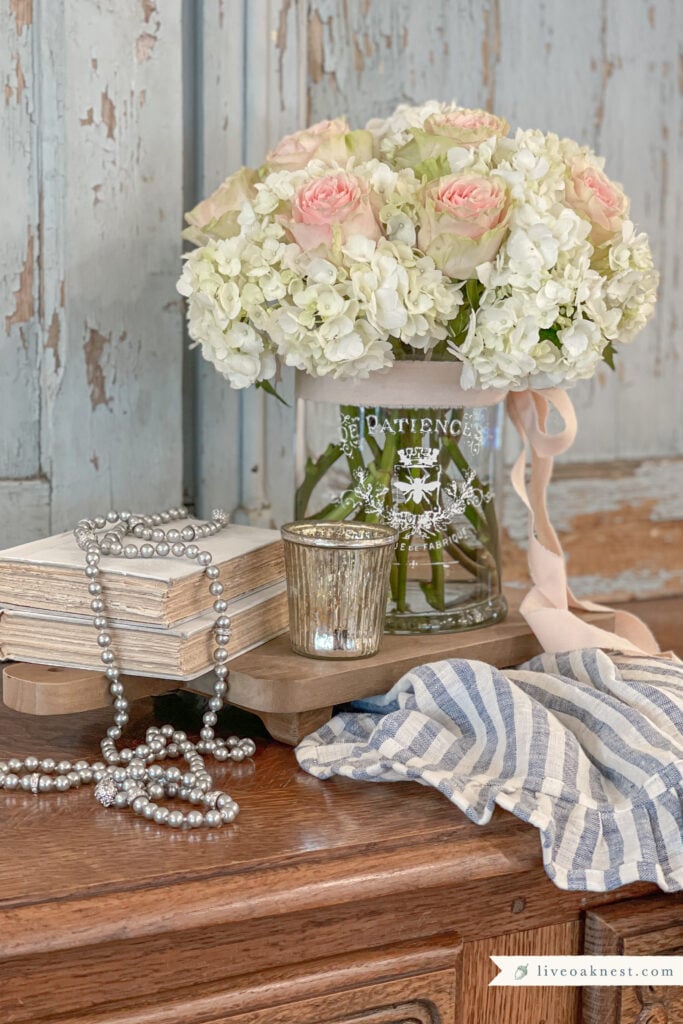
I started with a vase/jar that I picked up in the clearance section of Hobby Lobby. The lid was missing so I’m sure that’s why it landed in the clearance. But that was fine for me since I wanted to use it as a vase. I used the Le Petite Boutique Stencil and Chalkart in the color I Reckon. I love this Chalkart because you can use it on glass, mirrors, and chalkboards with your stencils and it can easily be wiped off with water. If you want it to be permanent you can always seal it!
Do you think this is as pretty as I do?! Wouldn’t a grouping of glass vases and florals with this stencil be gorgeous?!


Vintage Canvas Tote Bag
Do you love thrifting? Picking? Treasure hunting for one-of-a-kind vintage goodies? If you do, you need this cute stencil! I have so many more ideas for this stencil, but this particular project was so simple and I LOVE how it turned out!
I picked up this canvas pouch from Hobby Lobby and then used the “Vintage Junk” stencil and Gel Ink in the color Metallic Copper. The Gel Art ink does need to be heat set with an iron after it is fully dry. (Check the directions for heat setting time and temp on the back of the bottle.)
I thought this would be the perfect thing to carry when I’m out thrifting. When I go to large thrift markets, I like to carry as little as possible. I can slip my phone, keys, a little cash, and my debit card in this pouch and keep it tucked in the bottom of my rolling cart! It will be easier to keep up with than a big bag, but still keeps my essentials together.
Do you love it?! The copper color looks so good and of course I added on a bow because why not! haha


Love Wood Sign, Gold Leaf Heart Art
Do you decorate for Valentine’s Day? If you do, these sure would be cute to add to your decor this year! I thought this LOVE stencil would look so cute in the kitchen.
The small wooden sign was from the clearance section in Hobby Lobby. I believe this wood sign was around $2. I painted it solid with Waverly Chalk paint in white first. Then I painted on two coats of Fusion Mineral Paint in the color Damask. I then used the “Love Is” stencil with the Chalkart in the color “I Reckon.” You can seal your signs like this with any sort of Acrylic. I love General Finishes High Performance Flat!
To finish it off, I tied a box and secured it on the corner of the sign with hot glue. Then I placed a vintage button in the center of the bow with a dab of hot glue.
Isn’t this so cute?!
For the little sign, I followed the same painting steps as above. (If you watch the video, you’ll notice I originally stenciled on the word LOVE on this little block, planning to use the gold foil. It didn’t turn out quite like I wanted, so I painted over is and tried something else. Try something new! If it is a flop or you don’t like it, start over! )Then I drew and cut out a heart on a piece of scratch paper, and traced it onto my wood block. I filled in the heart with my Gilding Size, allowed it to come to tack, and then placed my gold leaf. A chip brush worked great to brush off the excess foil.
I think this turned out darling, and I love the two signs paired together! Both of these would work good in a tiered tray also if you like to decorate one with the seasons.


Winter Maker Box Crafts
Do yall like the projects I shared with yall today? I thought they would be a good mix of ideas for crafts that could work for Valentines and Spring decor! Which one is your favorite?! Head on over and get yourself the Winter Maker Box so we can craft together!
I’d love for you to say hello down below and let me know what you think! And if we’re not friends over on Facebook or Instagram, what are you waiting for?! ☺️
Are you on Pinterest? Come follow along for more French cottage inspiration!
Blessings,
Kayla C.
You Might Also Enjoy
Some of the brand links I share are affiliate links. As an Amazon Associate I earn from qualifying purchases. These links provide me with a small compensation (at no additional cost to you) when you purchase items through my links.





So cute! Love what you made with your treasures from your box. Looks like so much fun in that box! Can’t wait to see what else you make and share.
Thank you Tara! Is is! I love all the goodies from A Maker’s Studio!