

Let’s make a beautiful spring floral table centerpiece and add in a few bird nests and birds using Iron Orchid Design moulds!
Hi friends and happy Saturday!
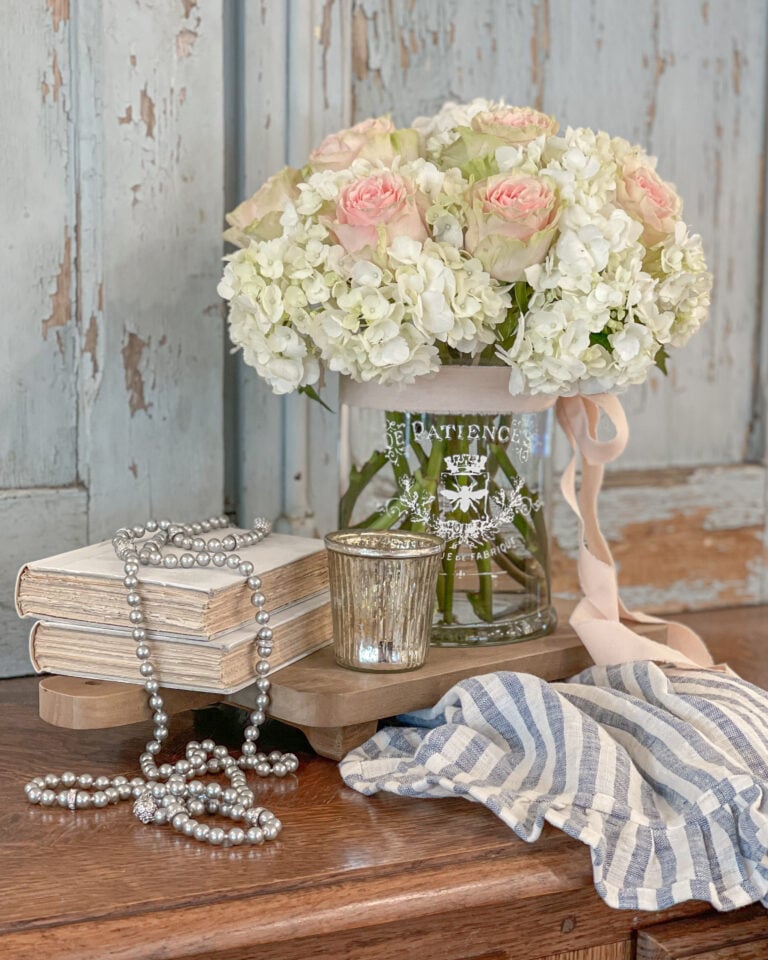
I’m sharing how I made a beautiful Spring Floral Table Centerpiece with y’all today! I love taking fresh flowers from our local grocery store and creating a beautiful arrangement. Before we get started…here are a few other Sping-y posts that you might have missed!
Small Wreath Spring Wall Decor
French Cottage Spring Home Tour
Spring Floral Table Ceterpiece
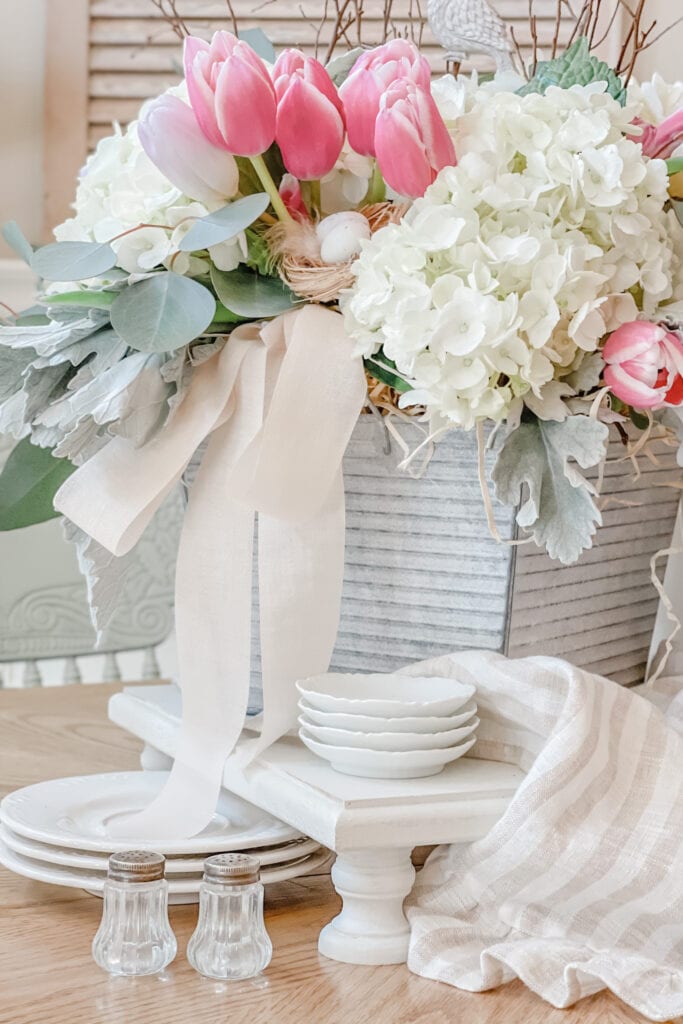
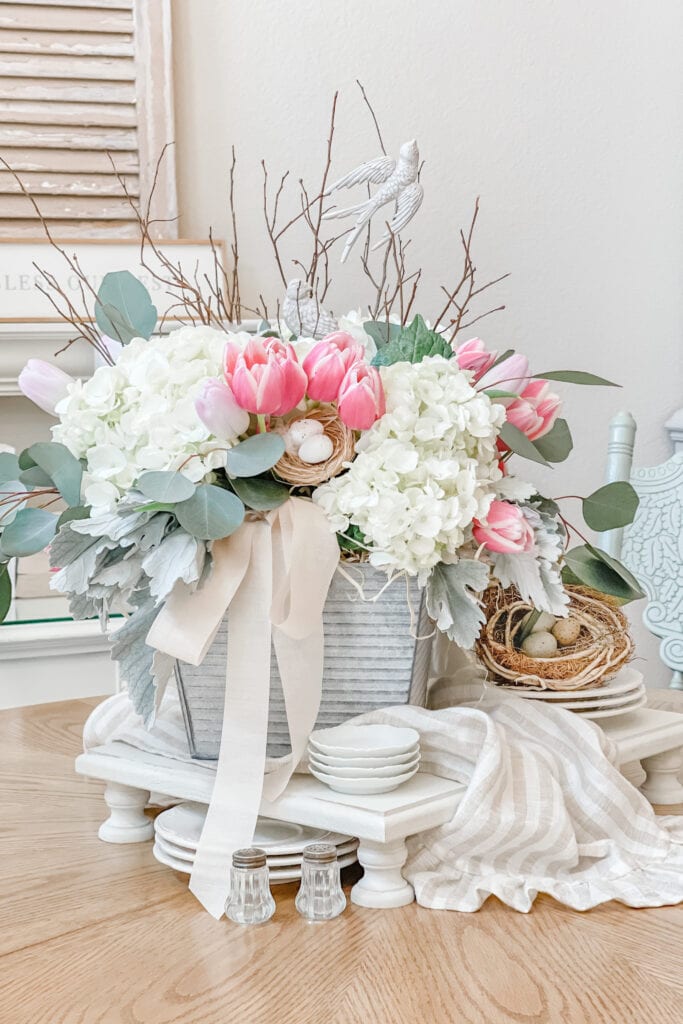
So we live very close to a Market Street and they have a cute little gift and floral shop inside. They almost always have tulips and hydrangeas which are two of my favorite flowers! If you’ve been following me on social media, you’ve probably seen a lot of arrangements showcasing those two flowers!
Here are my tips and tricks when creating a floral arrangement and on how I go about it!

How to Create a Spring Floral Arrangement Centerpiece
Start by selecting your flowers. I usually try to gather two different floral varieties and at least one bundle of green stems. Y’all know I love pastels, so I typically stick to muted tones. Purchase whatever flowers you love!
Next you want to find a container. You can use a bucket, large bowl, or an antique tureen. Think outside the box and use what you have on hand.
I’m using a metal bucket that I had from Hobby Lobby. The seams on the bucket didn’t look waterproof, so I slipped a clear glass vase down inside the bucket to hold the water.
After you fill your vase with luke warm water, you want to use tape or chicken wire to create a grid across the top of the vase. I used clear packing tape and trimmed it down into narrow strips. The grid helps keep the floral stems upright and it really helps keep the arrangement looking beautiful.
Once your grid is in place, start placing your flowers. I typically place my big blooms, like my hydgrangeas, in first. Then I like to start adding in the greenery and then I tuck in the tulips. I play around with the bouquet and move stems around until I have it to my liking!
Finally, I added in a few small bird nests, and then I added in my twigs and branches. I simply hot glued the paper clay birds onto the stems. Paper clay is very light weight once it dries so the birds won’t weight down the branches at all!

How to use IOD Moulds and Paper Clay
Using paper clay with an Iron Orchid Design mould is so simple!
Start by pinching off a section of paper clay. Make sure to seal the clay in a zip lock bag after you’ve taken off what you need. They clay will dry out quickly so you want to keep it sealed and air tight.
Work the clay in your hands for a few minutes, warming it up as you roll it around.
Press the paper clay into the mould, making sure to press it firmly into all the nooks.
To remove your mould, gently pull back the silicone around the edges and then turn the silicone mould upside down and slowly peel your bird out. (If you have trouble getting your birds to release, you can dust a little corn starch into the mould before adding in the paper clay. This will help it fall out easier!)
If you plan to paint the birds, wait 15-20 minutes for a light crust to form on the paper clay. You will be able to see when the very top layer of clay is started to dry. Once you see that, you can paint the mould. I used Fusion Mineral Paint in the colors Goddess Ashwaganda and Raw Silk. I also used a small amount of Espresso Wax to deepen the details. Once painted, allow the birds to dry for about 24 hours before glueing them to your branches.

How to Prolong the Life of Fresh Florals
Here are a few tips that I’ve ran across over the years for keeping my flowers looking fresh and beautiful as long as possible.
For Tulips: Make sure to trim the tulip at an angle, and remove most of the green leaves. To help keep your tulips upright, place a penny in the vase of water. Something in the copper penny keeps the tulips from drooping.
For Hydrangeas: Cut your stems at an angle, and make sure to remove most of the green leaves. Run the freshly cut stem under VERY hot water for 30-45 seconds. Or dip your freshly cut stems into boiling water for a few seconds. I have no idea why this works, but it does! I can typically keep fresh hydrangeas for a few weeks. Also, if your hydrangeas do start to wilt, give the stem a fresh cut, and then lay the entire flower in a sink full of cold water making sure the stem and bloom are submerged. Leave it for several hours. Sometimes, this will revive the hydrangea and give it several more days!
General Floral Tips:
- Always trim off any leaves and flowers that will be submerged in the vase of water.
- Trim all of your stems at an angle.
- Change out the vase water ever 1-2 days to keep it fresh and clean.
- The flower food that comes with the flowers can help prolong their life!

I think this floral arrangement turned out so pretty! I loved adding in the birds nest and paper clay birds, and I think they are the perfect Spring touch!
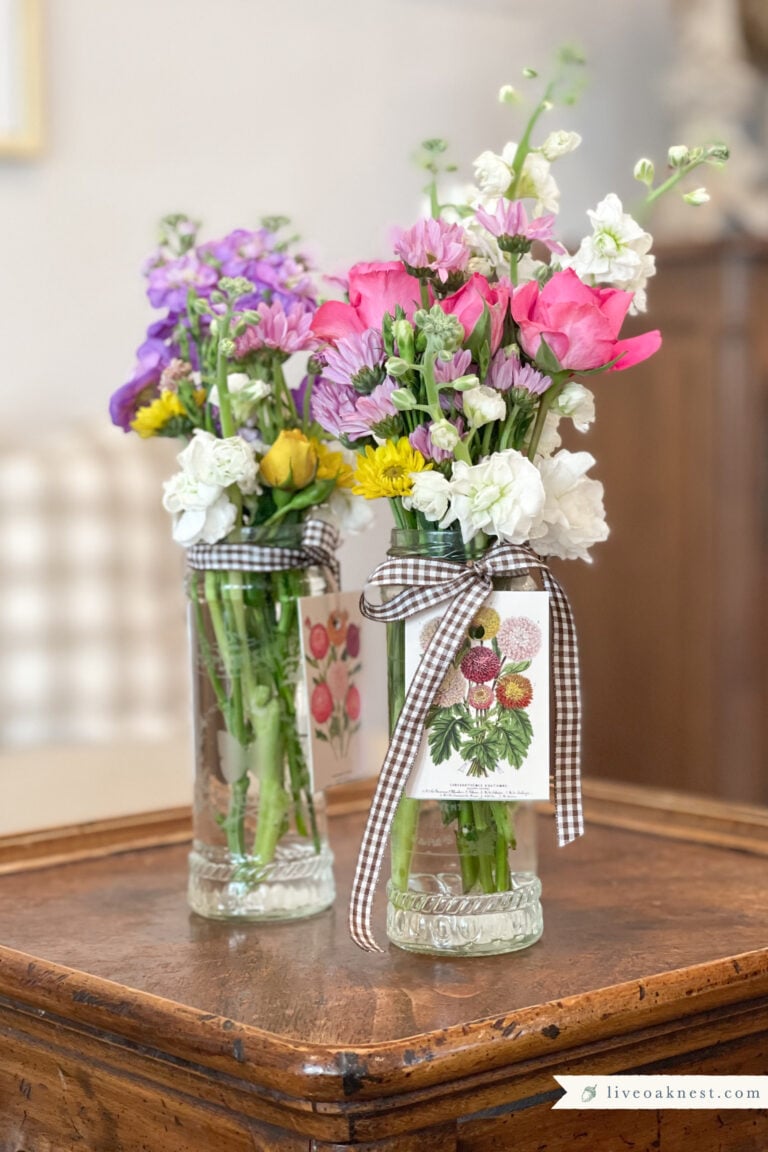
Don’t fresh flowers just brighten your mood? I love keeping fresh flowers in my home. Using grocery store flowers is a quick and inexpensive way to freshen your home and bring a little extra joy to your day!
Want to watch my process? Check out this video!
Create A Spring Floral Table Centerpiece
How-to Video

I’d love for you to say hello down below and let me know what you think! And if we’re not friends over on Facebook or Instagram, what are you waiting for?! ☺️
Are you on Pinterest? Come follow along for more home decor inspiration.
Blessings,
Kayla C.
You Might Also Enjoy

Shop This Post
Some of the brand links I share are affiliate links. As an Amazon Associate I earn from qualifying purchases. These links provide me with a small compensation (at no additional cost to you) when you purchase items through my links.


I love flowers and they do make me smile when I have them in a vase and with your tips now I know how to make them even more beautiful! Thank you so much for the great tips and how to make this gorgeous arrangement in perfect detail.
Hi Seva! So glad the tips are helpful! Thanks for being here friend!