Do you want a few pretty painted faux pumpkins that look real? Come on over and I’ll show you how to paint fake pumpkins! Shop This Post

Painting Faux Pumpkins Video Tutorial

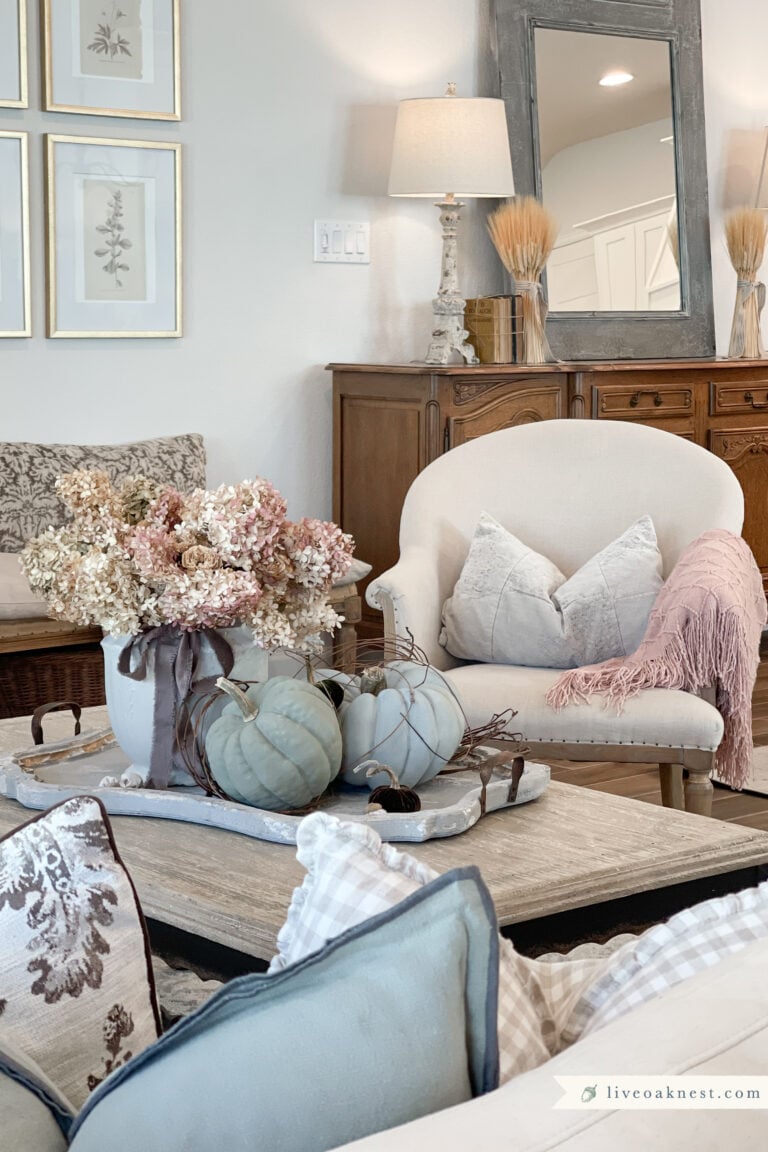
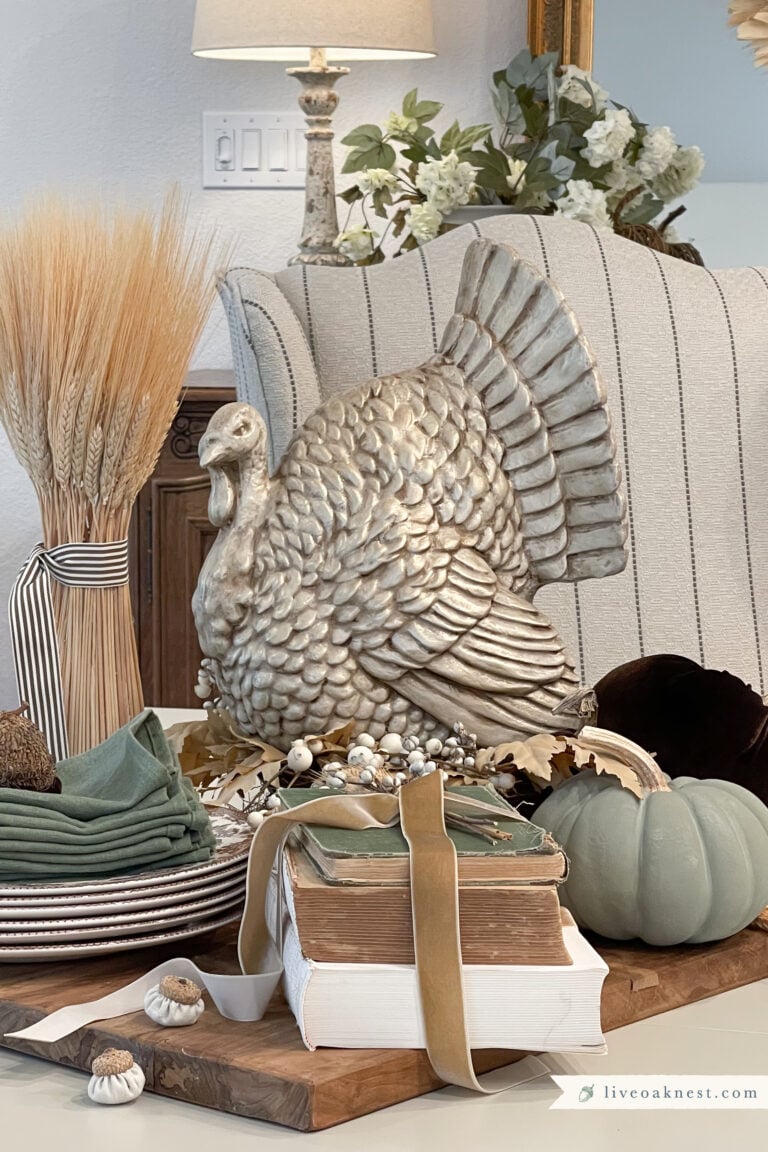
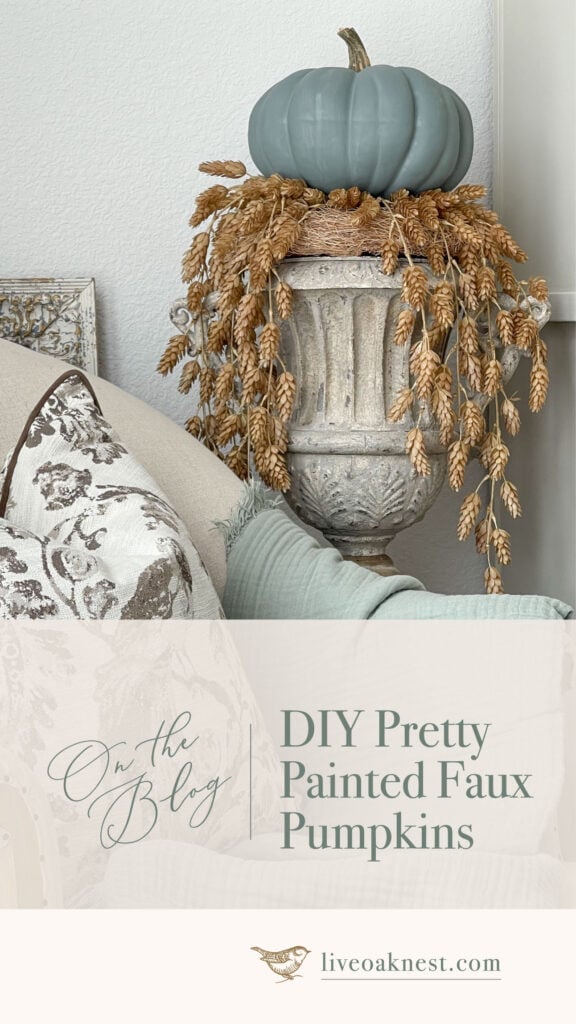
Pretty Painted Faux Pumpkins
Hi and welcome back to my home! Today I want to show you an easy way to take some old pumpkins (or new ones) and paint them to compliment your fall decor! If you’ve been around here a while you probably know that I don’t typically use orange and red in my fall decor. So I’ve been painting my orange faux pumpkins for a good long while. Ha!

If you saw this post on cottage fall finds, you know I am going with greens and browns for my fall decor this year. When I was out shopping earlier in the season I came across these realistic looking faux pumpkins from Michales. I LOVED the realistic looking shapes and details on them so I stocked up on several!
Faux pumpkins can be expensive so try to catch them on sale. If you head over to Michaels now you will see most of them are at least 40% off! Over time, I think faux pumpkins can save you a little money. You can paint them over and over each season if you’d like, and unlike real pumpkins, you don’t have to throw them out when the season has ended.
Real pumpkins are so pretty but my goodness they can be just as much if not more than faux pumpkins. I usually decorate inside with mainly faux pumpkins and then purchase a few real ones for our front porch. Sometimes I’ll also sprinkle in a few of the small white real pumpkins in my fall vignettes inside.
Shop Faux Pumpkins

Painting Faux Pumpkins with Chalk Paint
I typically paint all of my pumpkins with chalk paint, although I have used Milk Paint and even acrylic paint in the past. Chalk paint works really well because you don’t need to apply a primer. You can simply wipe your pumpkin off to clean it, and then start painting.
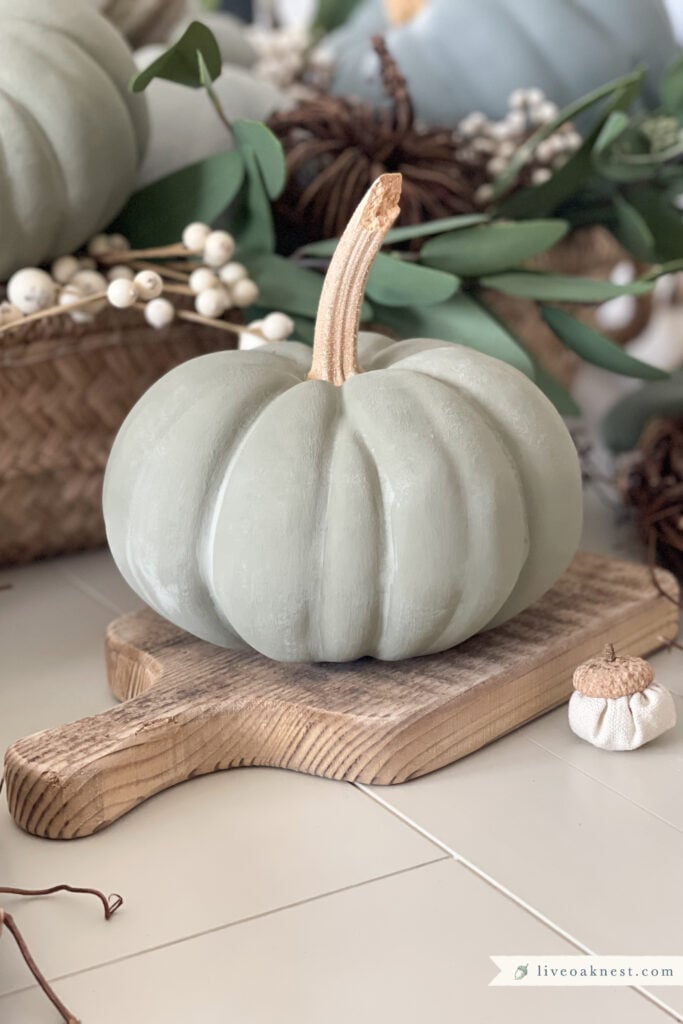
When painting faux pumpkins, I like to work with two or three complimentary colors. Since I’m using a lot of greens in my fall decor this year, I decided to work with these three Jolie paint colors… Sage, Eucalyptus, and Legacy.
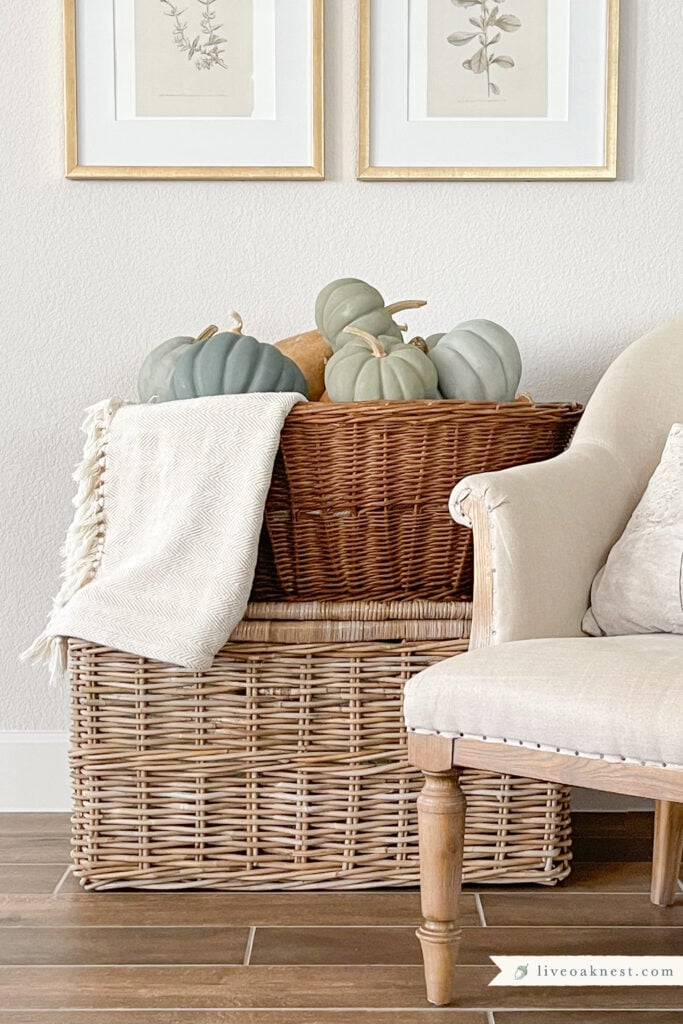

The Sage color is more green, the Eucalyptus more blue, and the Legacy is the darkest of the three and has a bit more blue than green in it. These three Jolie paint colors worked really well together!
Shop Jolie Paint Colors
How To Paint Faux Pumpkins
- To start, make sure you wipe off your pumpkin. A warm soapy rag will do the trick. I’ve found some of them have a film on them that can make it difficult for the paint to adhere. Let it dry really well before adding on your paint.
- Pick your base color and paint your pumpkin with 2-3 coats allowing each coat to fully dry between applications. I like to paint a thin first coat and allow it to dry overnight before moving on to additional coats. I think this helps that base layer start curing and helps it adhere really well.
- After your base color is dry, I like to mix a little bit of that color with either a lighter or darker shade. With that mixed color I will go in and add some depth and dimension focusing on the crevices and dips in the pumpkin. I will also use a dry brushing technique with that color and sparingly dry brush in different areas to highlight the texture on the pumpkin.
- From there, I will take a small amount of that standalone second color and dry brush it on the pumpkin in a few areas. To finish it off, I will use those three colors, randomly adding to the pumpkin, and working to blend them all together and hide any brush strokes. You can also use a damp paper towel here to help blend your colors together.
So for example, if I’m painting a pumpkin and use Eucalyptus as my base color. I’d then take a little bit of Legacy and mix it with a little bit of Eucalyptus. I’d use that slightly darker color to darken the crevices in the pumpkin and add dimension. Then I’d also go back with the standalone color Legacy and lightly dry brush it on to add a bit more dimension. From there I would work on using those 3 colors intermittently to blend in any brush strokes. - The last thing you want to do is pop off the plastic stem and replace it with a real stem. This final step will really take your pumpkins up a notch! Most of the styrofoam pumpkins have a plastic stem that you can twist and pull and it will easily come right out. If you end up with a hole larger than your dried stem, you can fill it with caulk and let it dry overnight. Then go back and use a little hot glue to adhere your dried stem.
- If you want to seal your pumpkins for a little extra protection, you can use wax to do that! I’d use Jolie clear wax. Sometimes I seal them and sometimes I don’t. My pumpkins tend to sit in one spot and don’t get shuffled around too much so I typically don’t feel like I need to add on an extra layer of protection.
Pro Tip!
Always pop the stems off of any real pumpkins you buy, let them dry really well, and then store them and use them for crafts the following year! You can use them on pretty painted faux pumpkins or on DIY fabric pumpkins!


Pretty Painted Faux Pumpkins
You might also like this post on how to create a DIY Buffalo Check Pumpkin. This would be cute painted in the sage green too! I added a real steam, a paper clay leaf, and a little ribbon and button to finish it off.

Have you painted any of your old pumpkins before? It’s such a good way to reuse those old pumpkins that no longer go with your fall decor. And it’s a great way to have your pumpkins compliment your fall decor if you are using non-traditional fall colors.
I’d love for you to say hello down below and let me know what you think! And if we’re not friends over on Facebook or Instagram, what are you waiting for?! ☺️
Are you on Pinterest? Come follow along for more home decor inspiration.
Blessings,
Kayla C.
Shop This Post
Some of the brand links I share are affiliate links. As an Amazon Associate I earn from qualifying purchases. These links provide me with a small compensation (at no additional cost to you) when you purchase items through my links.